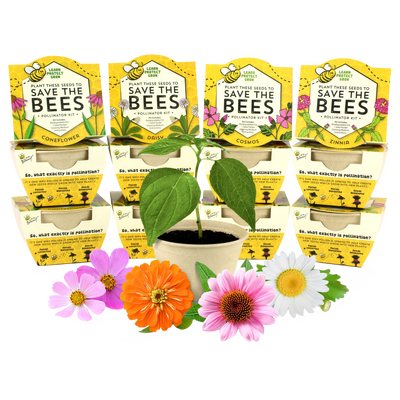
How To Transplant Your Seedlings
Green thumbs up! Your plant is thriving. Maybe even outgrowing its pot. Then, panic sets in… What do you do next?
It’s time to transplant!
Step 1: Handle with care
When transplanting seedlings, take care not to damage their delicate stem and root systems. Before removing the seedlings from the original pot, lightly squeeze or tap the side of the pot on the edge of a table or counter to loosen the growing medium. Once the growing medium is loosened, run a butter knife or other flat tool around the inside edge of the pot to separate the growing medium and roots from the inner walls of the pot. Then gently turn the pot on its side and ease the seedlings out, taking care not to snap or damage the stems or roots.
Step 2: Find a new home
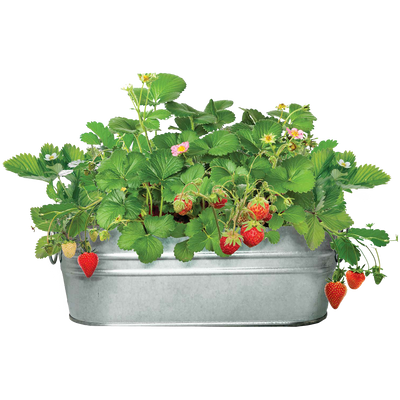
Once you have removed the seedlings from the original pot, you can choose to transplant them into a larger pot, or into the garden. If you have several seedlings, you will need to gently separate them prior to transplanting to provide them with adequate space to grow.
If planting in a larger pot, choose one with drainage holes. No drainage? No problem. Easily add drainage by drilling a hole in the bottom-center of your planter. If the planter is plastic or metal, a standard ¼” drill bit will do the trick! If the planter is ceramic, you will need to use a masonry bit and water.
If planting in the garden, you will need to select a location that meets the care and culture requirements (light exposure, water, temperature) for the type of plant you are growing. Keep in mind that you will need to ‘harden off’ your seedlings before moving them to any outdoor location. Read more about hardening off in this blog article.
Step 3: Putting down roots
Directions for planting in a pot: Before transplanting, prepare the new pot by adding a layer of fresh, well-draining potting soil at the bottom. This provides a good foundation for the seedling and promotes healthy root development. Avoid using garden soil, as it may contain pests, diseases, or poor drainage properties. Place the seedling in the center of the new pot, ensuring it sits at the same depth as it did in its original pot. Add potting soil around the root ball, gently firming it to eliminate air pockets. Avoid packing the soil too tightly, as it can hinder water drainage and air circulation. Leave a small space between the soil surface and the top of the pot to allow for easy watering.
Transplanting can be a stressful experience for seedlings. To help them adjust to their new environment, return the newly potted seedlings to their original location, and closely monitor their health as they establish in the new pot. If you decide to move your potted seedlings outside, gradually introduce them to outdoor conditions using a process called hardening off.
Directions for planting in the garden: Note: If started indoors, you will need to ‘harden off’ your seedlings before moving them to any outdoor location. Dig a hole in the new location that is slightly larger than the root ball of the seedling. Gently place the seedling into the hole, ensuring that it sits at the same depth as it did in its original pot. Backfill the hole with amended soil, firming it gently around the base of the seedling. Water the newly transplanted seedlings thoroughly to settle the soil and remove any air pockets.
After transplanting, it's crucial to provide appropriate care to help the seedlings establish themselves in their new environment. Keep the soil consistently moist but avoid overwatering, as excessive moisture can lead to root rot. Monitor the seedlings closely and protect them from harsh weather conditions, such as strong winds or intense sunlight, until they become more resilient.


